One of the easiest things you can do to give your Church or nonprofit organization credibility from your first online interaction is to have an official and consistent email address. Official email addresses (name@yourdomain.com) also make communication easier for your staff. Using your domain name with email addresses makes your staff and Church look more professional than using a general address (i.e., name@aol.net).
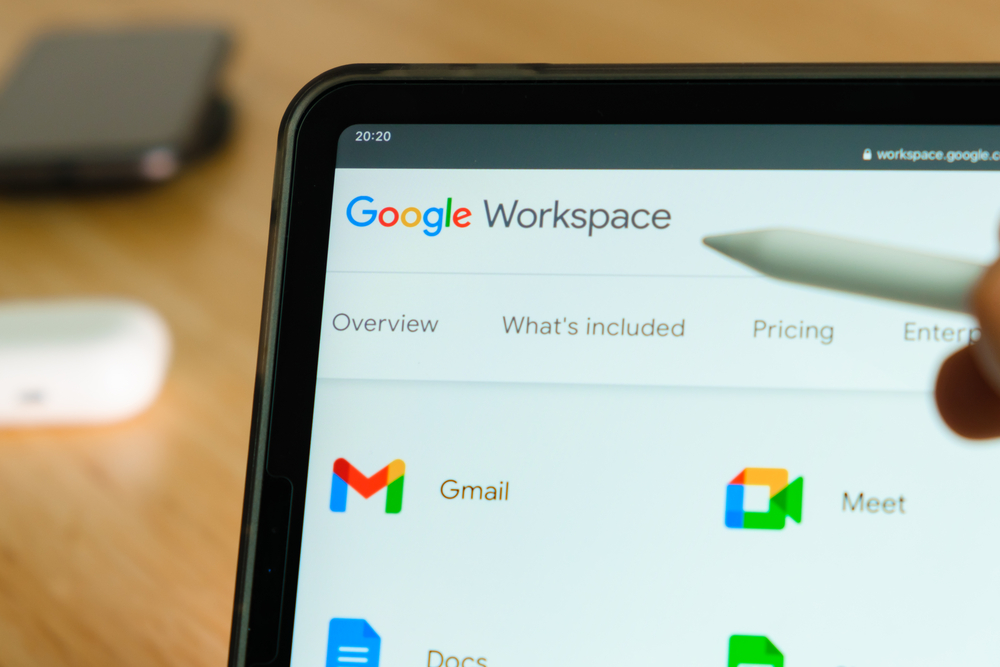
Your Church or nonprofit organization can use Google Workspace—Gmail, Google Doc/Sheets—with your domain name. The best part is that it’s free as long as you’re a registered nonprofit.
Follow the steps below to get access to custom emails as well as a plethora of other features that will now be at your disposal. Did we mention this was all free?
- 1. Sign up for Google for Nonprofits
- 2. Apply for a TechSoup validation token
- 3. Complete your Google for Nonprofits account application
- 4. Sign up for a Google Workspace trial
- 5. Set up your Google Workspace account
- 6. Enroll in Google Workspace for Nonprofits
- 7. Add users (email accounts)
That may seem like a lot, but we will walk through every step of the process and show you how easy it is.
1. Sign up for Google for Nonprofits
First, you need to sign up for a Google for Nonprofits account. Once this is completed, you’ll be eligible for Google Workspace for Nonprofits at no cost.
- Go to https://www.google.com/nonprofits
- Click Get Started at the top-right of the page.
- Sign in with your email address or Create a new Account. You can use a personal Gmail address or the one you already are using for your Church as long as it is from Gmail. Go through the next two steps selecting the country and other details.
- Enter the TechSoup Validation Token. If you don’t have the code or don’t know what Tech Soup is, click ‘Get a validation token from TechSoup’. Don’t worry; we will get to that in a few steps.
- Add the church phone number and domain. It can be whatever phone number you use primarily. Fill out the remaining contact details and agreements.
- Almost there. Lastly, click ‘Sign up for Google Workspace’
2. Apply for a TechSoup validation token
Tech Soup is a tool that many companies use to confirm that you are a nonprofit in order to give nonprofit pricing. So, you must be validated as a nonprofit organization by TechSoup to move forward with Google Workspace for free. If you do not have a TechSoup account, you will be taken to TechSoup after you click ‘Get a validation token from TechSoup’.
- Choose your country and language, then click ‘Enter’
- Click ‘New to TechSoup.org‘. Click through the windows until you complete the ‘Join TechSoup’ form and confirm your email address.
Here is the fun part. Enter the following info:
- Organization Status – Select 501(c)(3) nonprofit
- EIN or FSCS ID – Enter your EIN (Employer Identification Number)
- Organization Type – Use the dropdown menu to select Religious Activities
- Subtype – Use the dropdown menu to select Church, synagogue, etc.
Verify all details, then click ‘Add This Organization’.
Once submitted, you cannot move forward until Techsoup completes the validation, which may take up to 10 days. You may be asked via email to submit additional information to TechSoup if necessary. If you have not received your validation token within 10 days, reach out to their customer support
Once you’re notified by TechSoup that your account has been validated, huzzah! Now, log in to your TechSoup account to obtain your TechSoup validation token. Here’s how you do it.
- Click the User icon in the top right corner to select Your Account.
- Once on the Account Details page, click Validation Tokens.
- Then click the Google for Nonprofits link.
Next, follow the prompts to:
- Identify the country in which your organization is located.
- Log in to your TechSoup account.
Now you should be on a page with your token. Click Copy, then paste the validation token into the Google For Nonprofits field back on the Google for nonprofits web page!
3. Complete your Google for Nonprofits account application
Now that we are finished with TechSoup, you can complete the process of signing up for a Google for Nonprofits account!
- Log in to your Google account once more to confirm your account and enter/paste your TechSoup validation token.
- After Google has checked your token, review the list and select your organization. If it is not there, select ‘My organization is not listed’ and create a new account.
- Enter a few more contact details and click Agree!
Once this is done, you should hear from Google within 3 days.
Wait for approval before you proceed.
It is up to you, but we recommend waiting until your Google for Nonprofits account is approved before continuing. This is to ensure you never have to pay a dime! The trial is 14 days; if it takes longer, we don’t want you to get stuck paying for a month.
4. Sign up for a Google Workspace trial
- Go to the Google Workspace website and sign up for a Google Workspace trial. Be prepared to provide the following information:
- Church/Business Name (full legal name)
- Number of Employees
- Country
- First Name
- Last Name
- Current Email Address – Use your current email address. We will create your new professional emails soon.
- Enter your current website domain you want to show up on your emails! You also have the option to purchase one here.
- Confirm the domain, create your admin user and password, and agree to the Google Workspace Agreement.
- Select a payment plan. Don’t worry. Did we mention it will be free? – You must choose a Business Plan and enter payment information to move forward. Once your application has been accepted, you will be able to use all of the tools at no cost.
5. Set up your Google Workspace account
- Next, you’ll be presented with various options to continue fully syncing your domain. We recommend doing it through the automatic tools with hosting providers. If it is not easy for you to accomplish this, reach out to Mission Support, and one of our guides would be happy to walk you through it!
- Once your domain is verified, click ‘Continue Setup’ to proceed.
6. Enroll in Google Workspace for Nonprofits
Once you get an email saying your Workspace for Nonprofits application is approved, complete the following steps:
- Sign in to your Google for Nonprofits account.
- Click on the ‘Enrollments’ page in your account to enroll products.
- Click the Enroll link below Google Workspace for Nonprofits to continue the process.
7. Add users (email accounts)
Now for the moment you’ve been waiting for. Get you and your staff new professional emails!
You can now log in to your admin console at admin.google.com with your Google administrator account and password to begin setting up email accounts for individual users! This Google article will tell you how to do that if you need guidance. Once the users are created, your team will be able to log in to their new Gmail accounts.
Once you’re ready to switch, you’ll just click the Set Up Gmail button at the top of your Admin Console and follow the steps they give you. After that, it’s official, and you’re off to the races. This is what takes your new email LIVE and causes messages to start flowing into your new Gmail inboxes. If you need help with this step, be sure to contact us. The Google Admin help center is a great resource if you need help making any changes to the new email later on.

